connect your raspberry pi to an enterprise network with active directory user authentication
Recently, the Raspberry Pi Foundation announced that they sold over 10 million Raspberry Pis over the last four years. Nowadays, you can find these small computers almost everywhere; behind information kiosks, inside complicated devices, in 3d printers, and in many more devices.
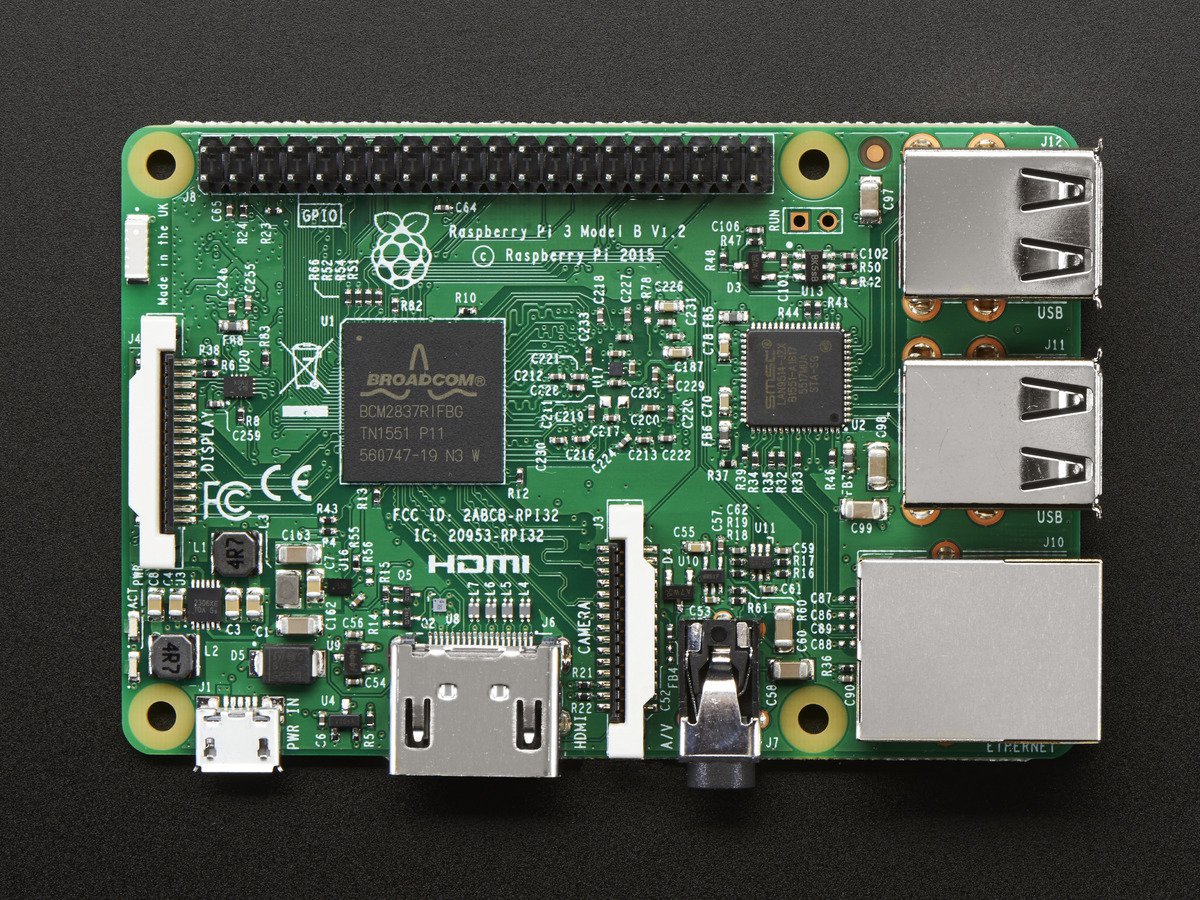
In one of the projects I’ve been working at the Eindhoven University of Technology, we had to work with some Raspberry-Pi-3-enabled robots, called GoPiGo. In order to get a brief idea about the goal of the project, think that a number of robots needed to work together in order to accomplish a task. As you can imagine, these robots had to communicate all the time with each other in order to be able to proceed and accomplish their task. Their communication should go over WiFi, as the 3rd version of Raspberry Pi can connect to wireless networks without needing any extra equipment.
Although it’s easy to connect to a WPA2-PSK using Raspbian’s UI (via the network manager), connecting to a WPA-PEAP network with Microsoft’s Challenge Authentication Protocol (MSCHAPv2), like the one TU/e has, is not that simple. I was surprised to find out that Raspbian does not provide a way to connect to such networks from the UI. Taking this into consideration, we had to configure the connection to our WiFi network following the non-UI way. This is not a difficult task, typically you can insert your network’s parameters in the file wpa_supplicant.conf. You can find a lot of examples on how to configure your network with google search, but if your network uses enterprise security together with an Active Directory server for authentication, then things might get more complicated.
After some search on what specific configuration is suitable for these specific networks, I came up with the following solution:
wpa_supplicant.conf file with your favorite editor. (The complete path of the file is: /etc/wpa_supplicant/wpa_supplicant.conf)network={
ssid=""
priority=1
proto=RSN
key_mgmt=WPA-EAP
pairwise=CCMP
auth_alg=OPEN
eap=PEAP
identity=
password=hash:
phase1="peaplabel=0"
phase2="auth=MSCHAPV2"
}
ssid, with the SSID of your WiFi network. (In my case, this was tue-wpa2)identity, with your usernamepassword, with your password. Well, not really. It’s not a good idea to put your password there in plaintext. So, unless you feel really confident to put your password there in plaintext, proceed to the next step.password field in plaintext, it’s a nice idea to put there a hashed version of your password. You can do this by typing the following command:
echo -n 'password_in_plaintext' | iconv -t utf16le | openssl md4 > hash.txt
This command is going to create a hashed version of your password and store it in the file hash.txt. Now open this file and place its content after hash: in the password field of the file wpa_supplicant.conf.
sudo service networking restart
Are we done yet? Almost. We still forget one tiny detail. Not so long time ago (fourth step), you wrote your password on your terminal in order to create the hashed version. As you would expect, this will remain in the history of your commands and if someone attempts to read your command history, he will be able to see your password. As a last step, you should delete this specific command from your history. In order to do that, type history on your terminal and see the line number of this command in your history. For instance, in my case, this command shows up in my history as:
251 echo -n 'lalalala' | iconv -t utf16le | openssl md4 > hash.txt
In this case, i need to remove line 251 from my history of commands. In order to achieve this, execute the following command:
history -d 251
Aaaand, you’re done!